So, You Want to be Your Family’s Video Biographer?Part 3. My Learned, Somewhat Technical, Videography Mumbo-Jumbo.
Training Services.
In my first two posts “Part 1. How Most People Start” and “Part 2. And Now Seriously” I described my efforts to create my family video biography. I described how I arrived at our finished video biography, but, to keep the description flowing, omitted most of the somewhat technical hardware and software details. This last part fills the gap.
I used two on-line services which were invaluable in my videography-editing work: Larry Jordan’s www.larryjordan.com and Izzy Hyman’s www.izzyvideo.com. One can purchase individual tutorials or join these training services with an annual fee. I am a member of both groups. The relatively small annual fees for these services are probably the best investment I ever made (please note: I am not commercially affiliated with either one of them).
Editing and Composition.
To move the story forward, with natural transitions, I sometimes placed our interviews within the same image frame as the still photos and video clips. I used a split screen and a so-called “Barn Door” movement for my composition. Some segments were a mixture of animated photos (Ken Burns effect) and a voice-over. Here is an example of this composition.
The cuts and transitions needed learning and took some time to master. There is a really good book “In the Blink of an Eye” by Walter Murch about film cuts. He is one of the best editors in the film industry. Also, Larry Jordan has an excellent set of tutorial on FCP X video editing, called Final Cut Pro X – Complete.
Equipment.
A word of caution: some of the equipment I used is quite pricy, but I think I got my money’s worth. One can either sell it after the video biography work or keep it for future video projects.
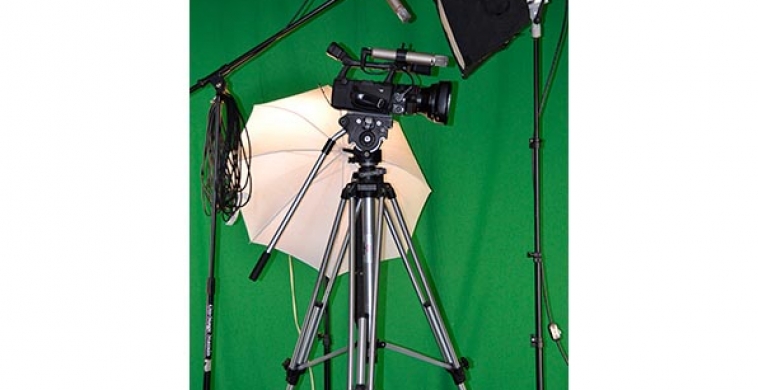
Cameras – At different times through the years I used a Sony analog camcorder, then a Sony SD digital camcorder and then the early Sony digital HD camera HDR-FX1. I am a great fan of HDR-FX1, it served me well for many years.
Lights – On the video side, by far, lights are the most important part of the interview shooting. Practically any modern video camera will do a good job if the interview subject is properly lit. There is a set of tutorials from Izzy Video called “Lighting for Video 101: Guide.” It is an excellent introduction to video lighting. For my work, I used a pair of Diva-Lite 400 Universal for the key and fill lights.
Microphones – For both, the interview and the voice-over recordings, I alternated between a lavaliere (Sennheiser SEMKE2PC MKE-2-PC) and a shotgun (Sennheiser ME66) microphone, both with the low noise XLR balanced cable/connector. They did a good job. To connect these mikes to my HDR-FX1 camera I used BeachTec’s DXA-HDV SLR adapter mounted between the camera and the tripod. And for the voice-over recording, to connect the mikes to my computer, I used M-Audio’s M-track adapter.
Computer Equipment and Software – I used my old 2008 Mac Pro with 16GB RAM, internal 2-disk RAID 0 media storage, NVIDIA’s GTX 680 graphics card and Blackmagic Design’s Intensity Pro adapter for video monitoring.
Software
As I mentioned earlier, I used Apple’s Final Cut Studio and then Final Cut Pro X (FCP X) with Compressor for video editing and compression. I also used Adobe’s Photoshop CS6 for photo editing and Adobe Encore CS6 for blu-ray (DVD) disk mastering.

